Collect for Stripe guide
Download our brand new Getting Started Guide for the Chipper™ 2X Bluetooth reader
Connecting
Standard Login (Connecting your Stripe Account)
Note: You must have administrator level access to a Stripe account in order to connect it. This is Stripe's security policy.
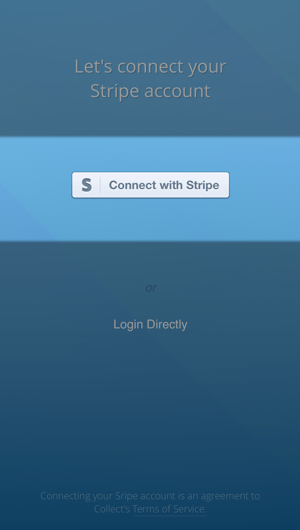
When you start the app for the first time, you'll see the Connect screen.
Tap the 'Connect with Stripe' button to connect your Stripe account, and you'll be sent to Stripe's login page.
Enter your Stripe credentials as you usually do, and press the blue button to sign in. At this point, if your account has never connected to Collect for Stripe, you will be sent back to what looks like the same screen, but now the blue button says "Connect my Stripe Account."
Tap this button to finish connecting to Collect for Stripe. You will be sent back to Collect and you're now ready to start using Collect for Stripe!
Direct Login
If you (or your administrator) have already connected your Stripe account to Collect for Stripe, you can now create Collect users to streamline the sign-in process.
Most importantly, Direct Login frees you from having to share you credentials or make everybody an administrator.
If you are the admin, Create your account here to see what we mean and get started.
After you have created users and they've set passwords, users will load the Collect for Stripe application and tap Login Directly.
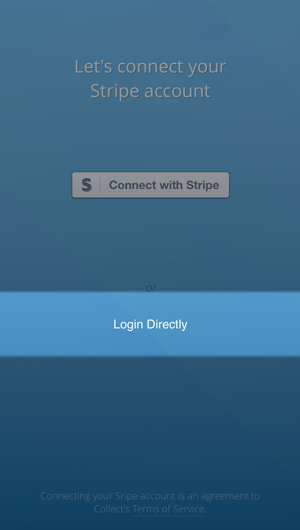
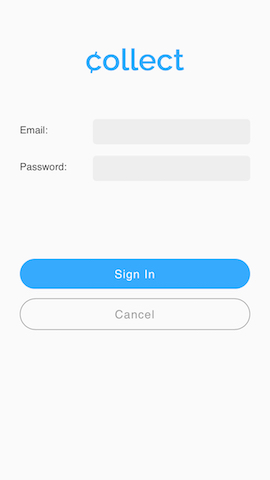
You and your users can sign in without going through the Stripe Connect process again – just a quick email address and password.
Creating Your First Charge
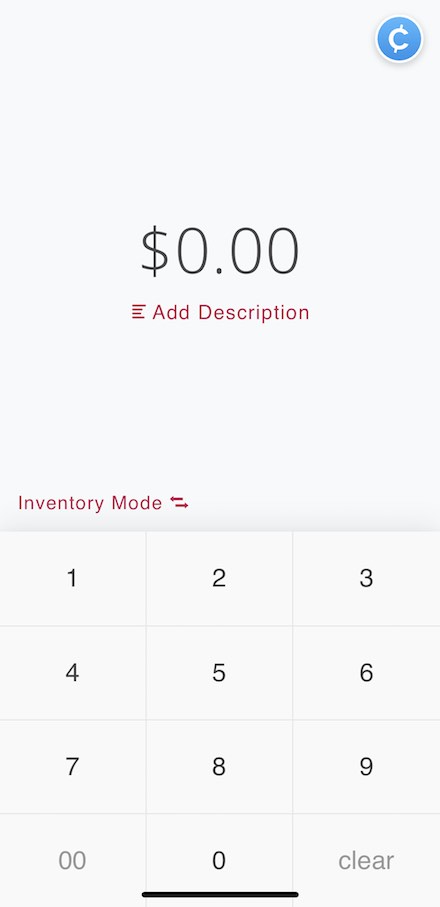
You’ve just connected your account and/or received readers. Congratulations! Now it’s time to start processing charges to your Stripe account.
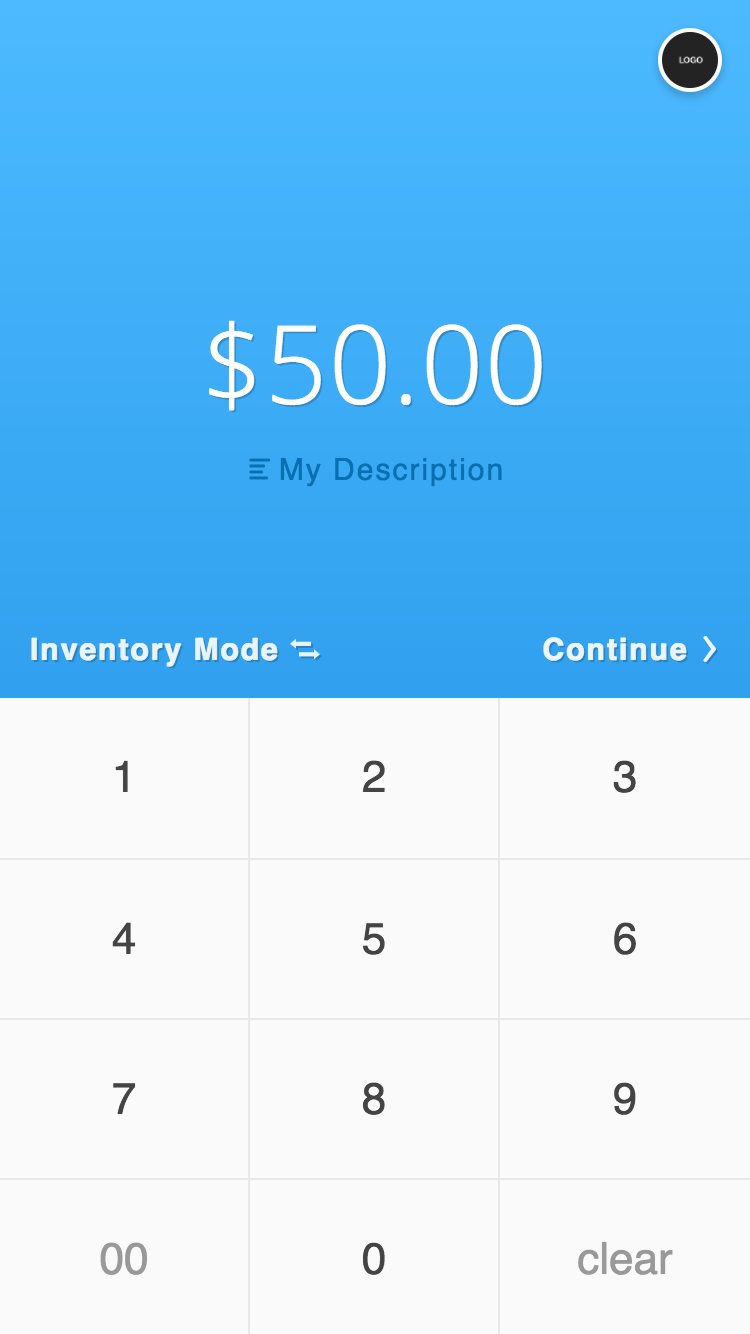
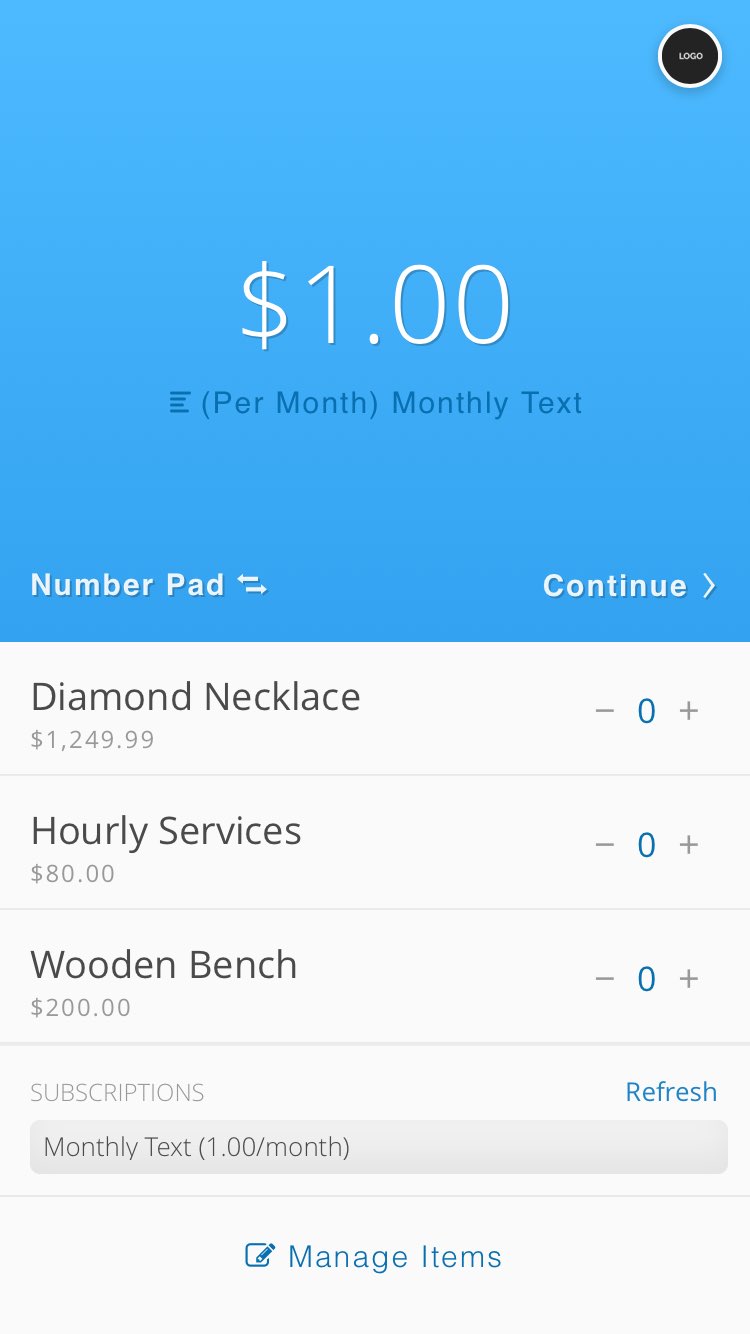
In this transaction screen, you can beginning typing the amount of the charge and add a description for this specific transaction by tapping on ‘Add Description.’
Then just use the number pad to set your transaction amount, and the ‘Continue’ button will appear. Tap to continue this charge and begin the credit card entry process. You should also go ahead and plug your card reader into the audio jack, if you have it.
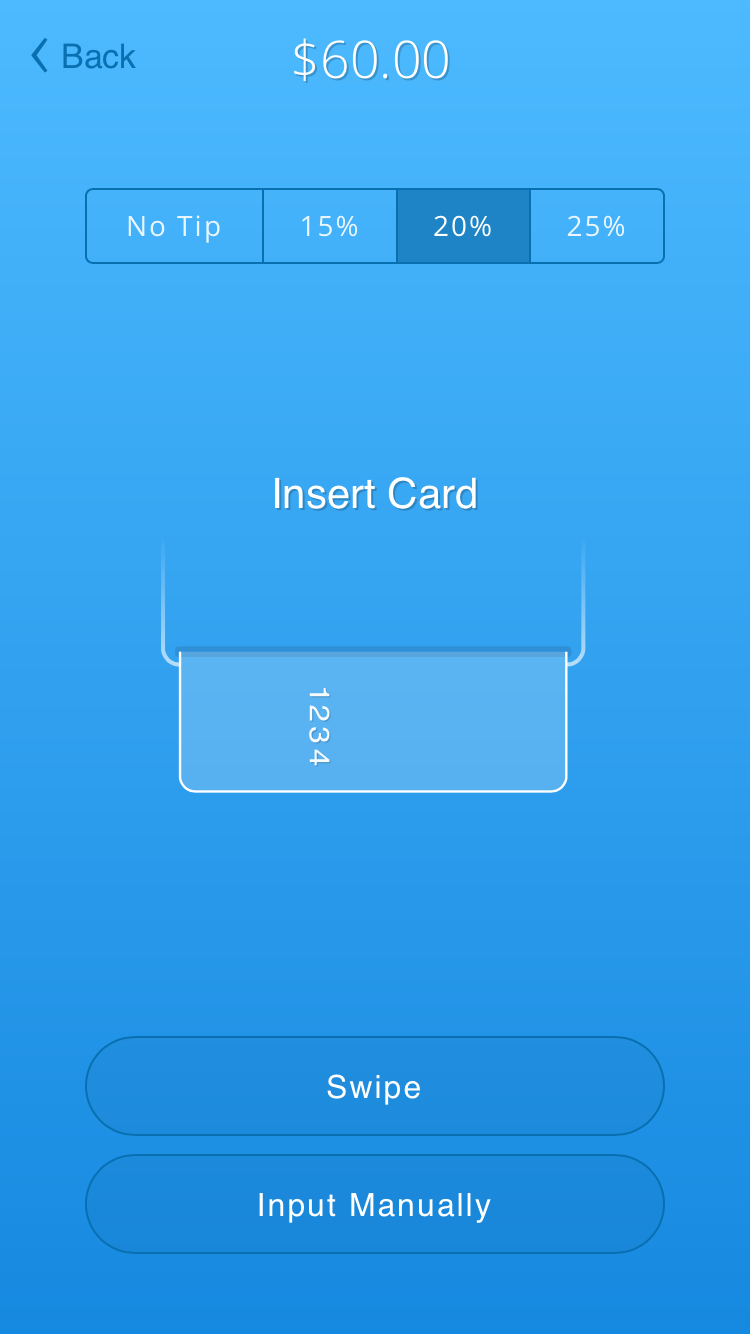
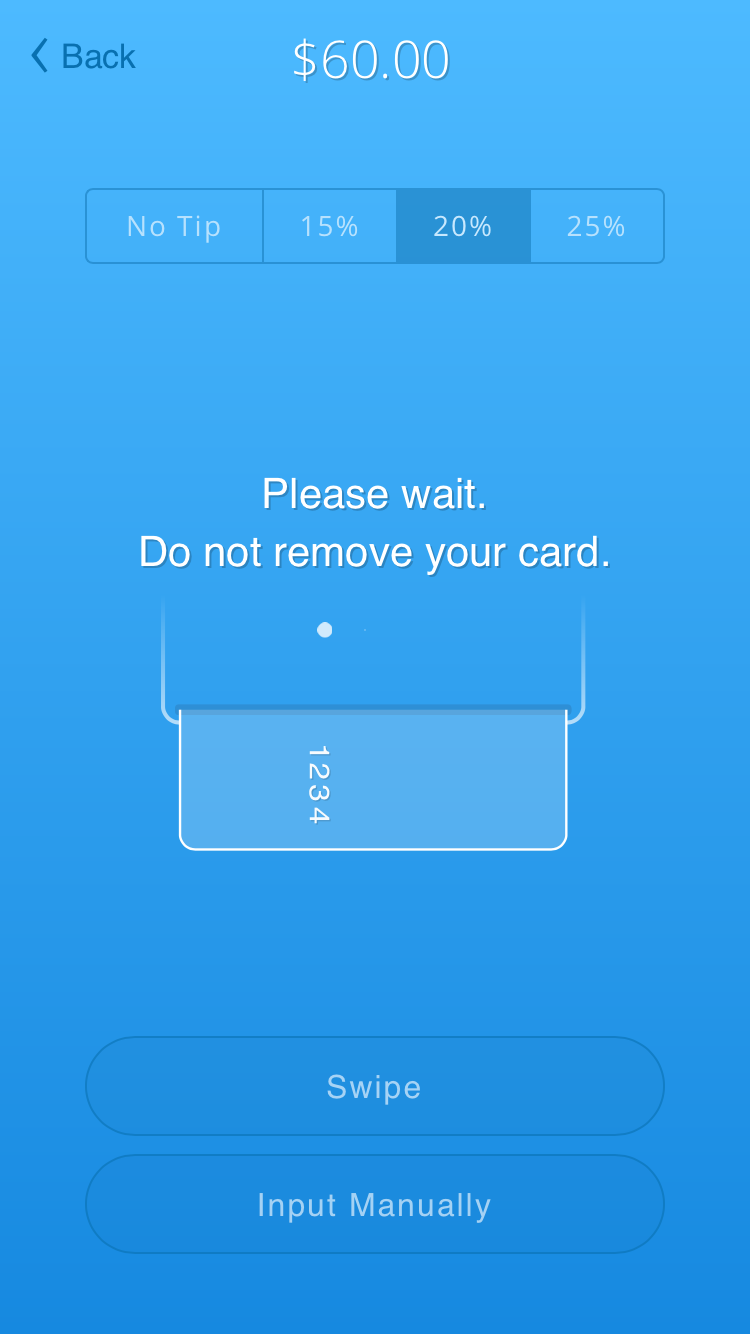
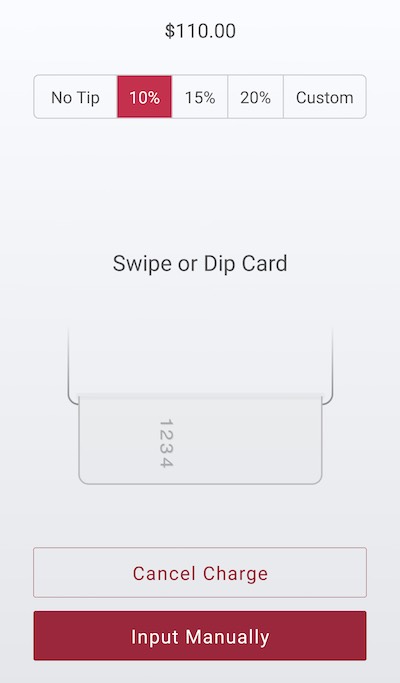
On this screen, you or your customer can add a tip amount with the tap of a button. (For charges less than $10, options will be $1, $2 or $3). Set a tip and then dip, swipe or type in your card.
Note: Current versions of Collect support custom tip amounts.
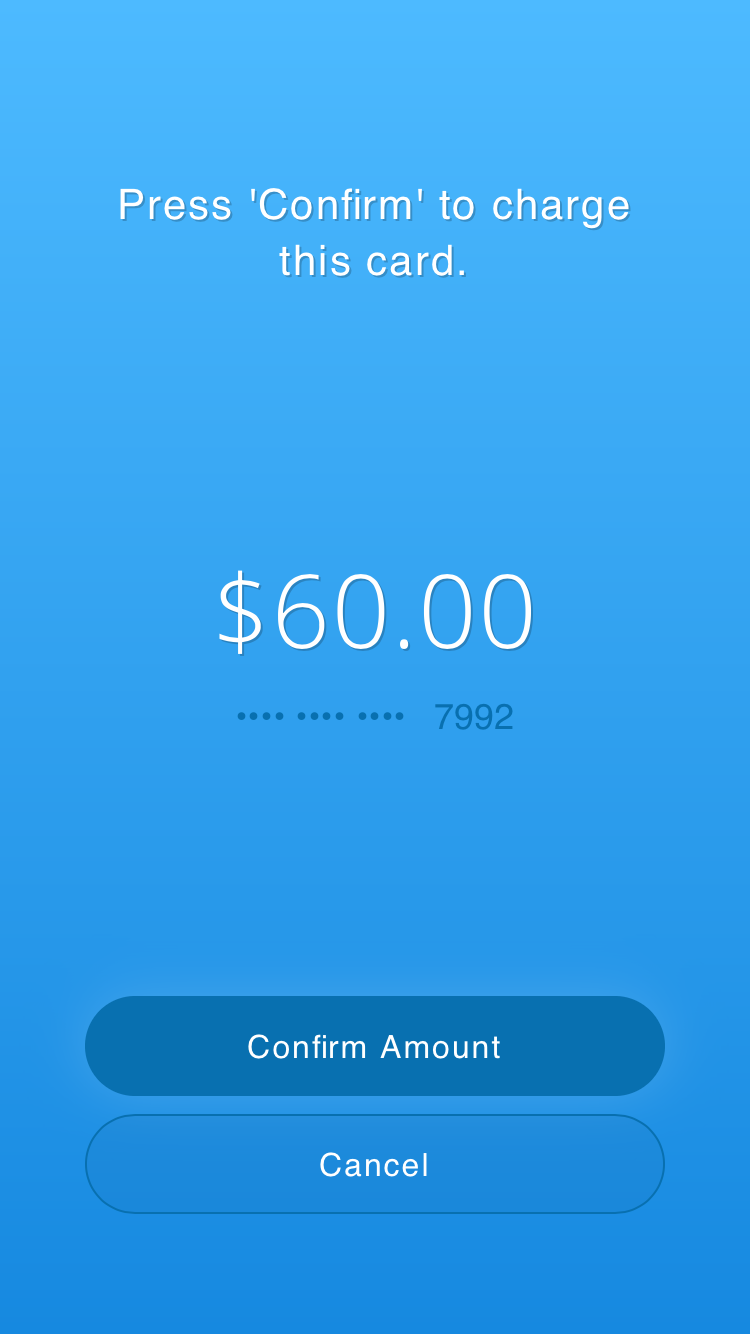
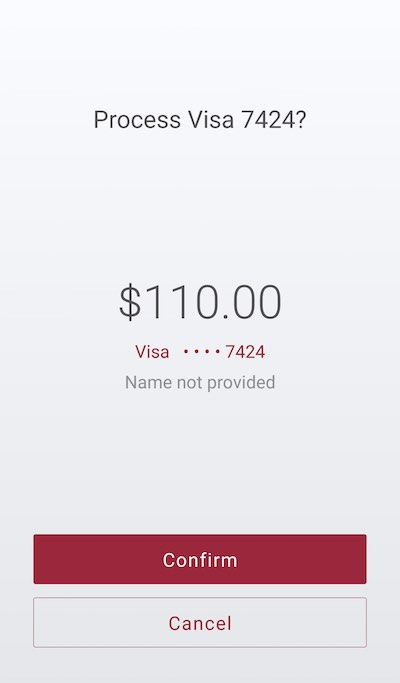
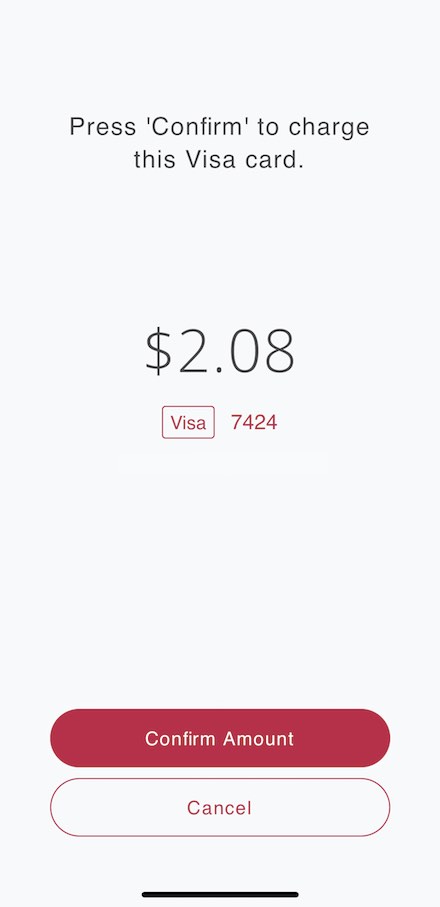
Now you're on the third screen, and ready to confirm payment! You or a customer can press 'Confirm' to process.
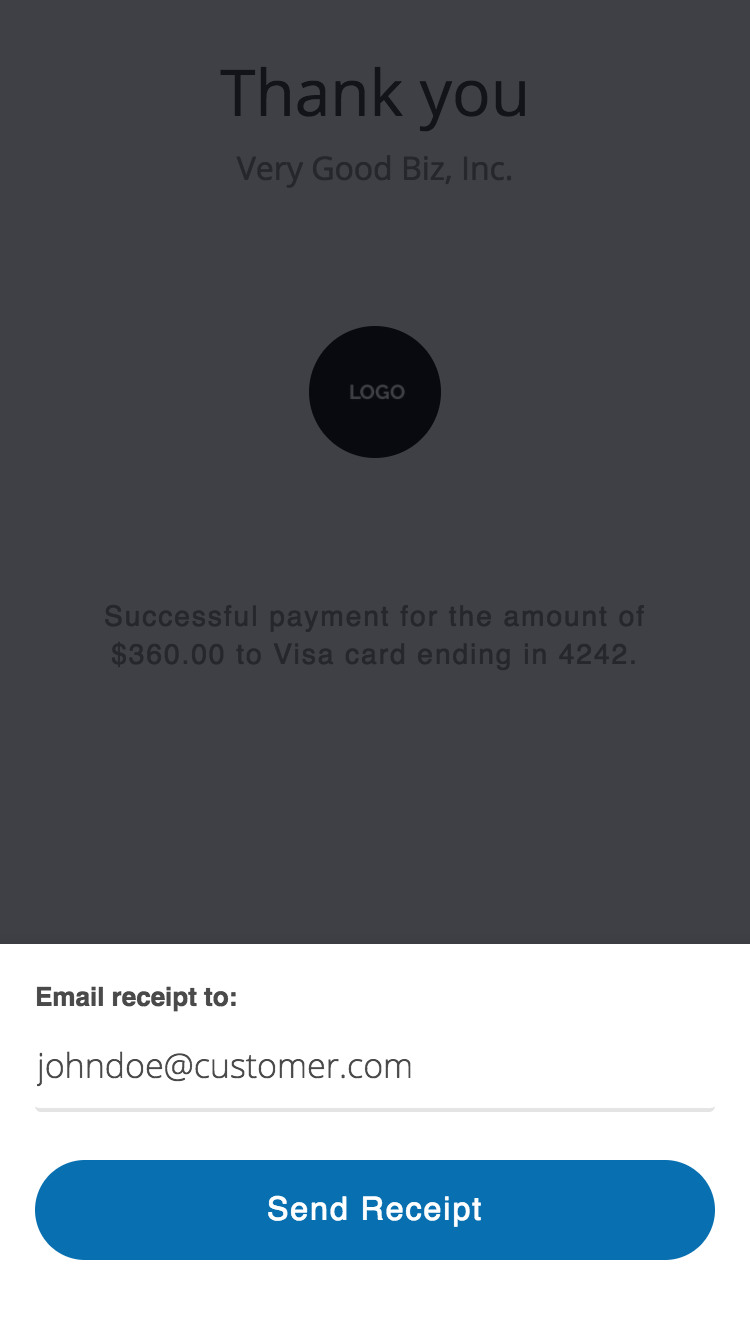
After payment, the customer is taken to the Thank You screen with an option to email a receipt or say "No Thanks."
Tip: Quickly add saved items to a charge, automatically calculating price and adding to the description! Check out Inventory Mode.
Customers
Note: For customer charges, receipts are automatically sent from Stripe if you have receipts enabled in your Stripe settings.
Create a customer
Rather than simply make a single charge, you can use a credit card to create a customer. That means any time in the future, you can come back to this customer and create charges (as long as the card remains valid) without gathering more information or exposing card numbers again.
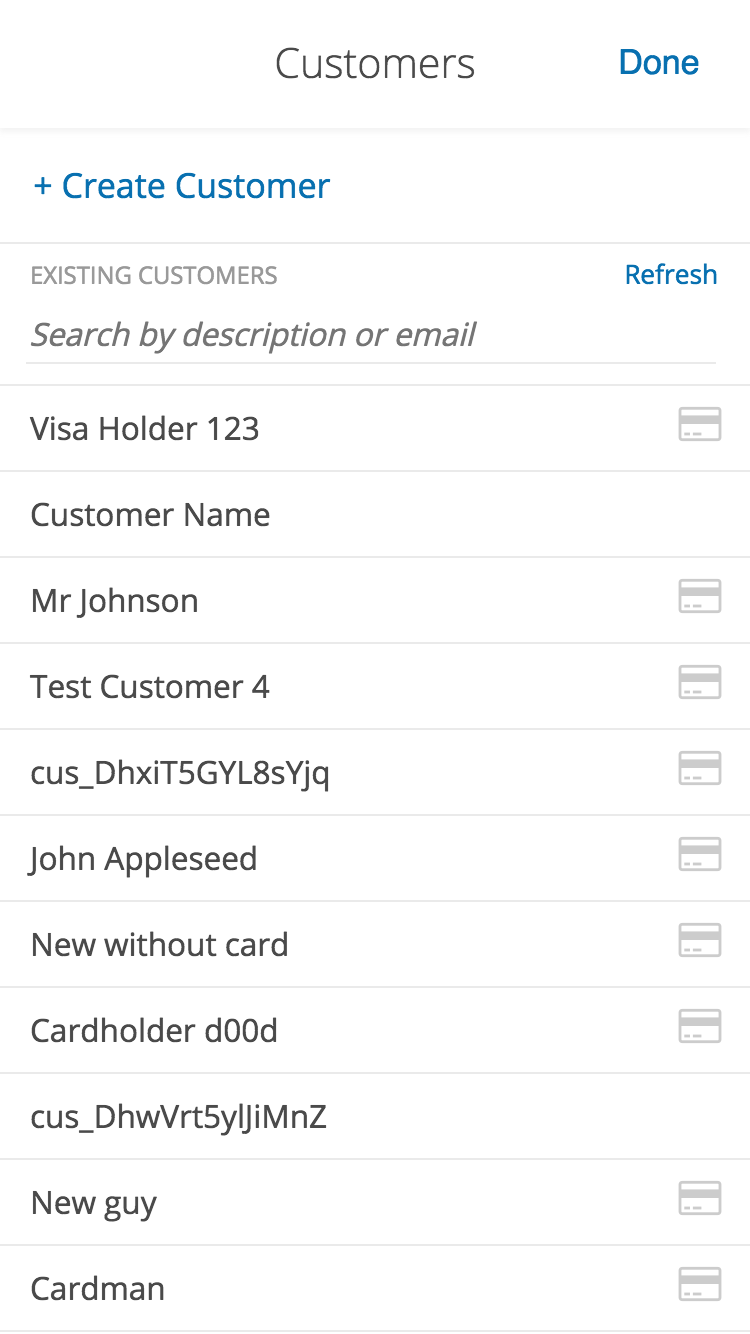
To begin, go to Customers from the home screen. Just tap + Create Customer the top of the screen.
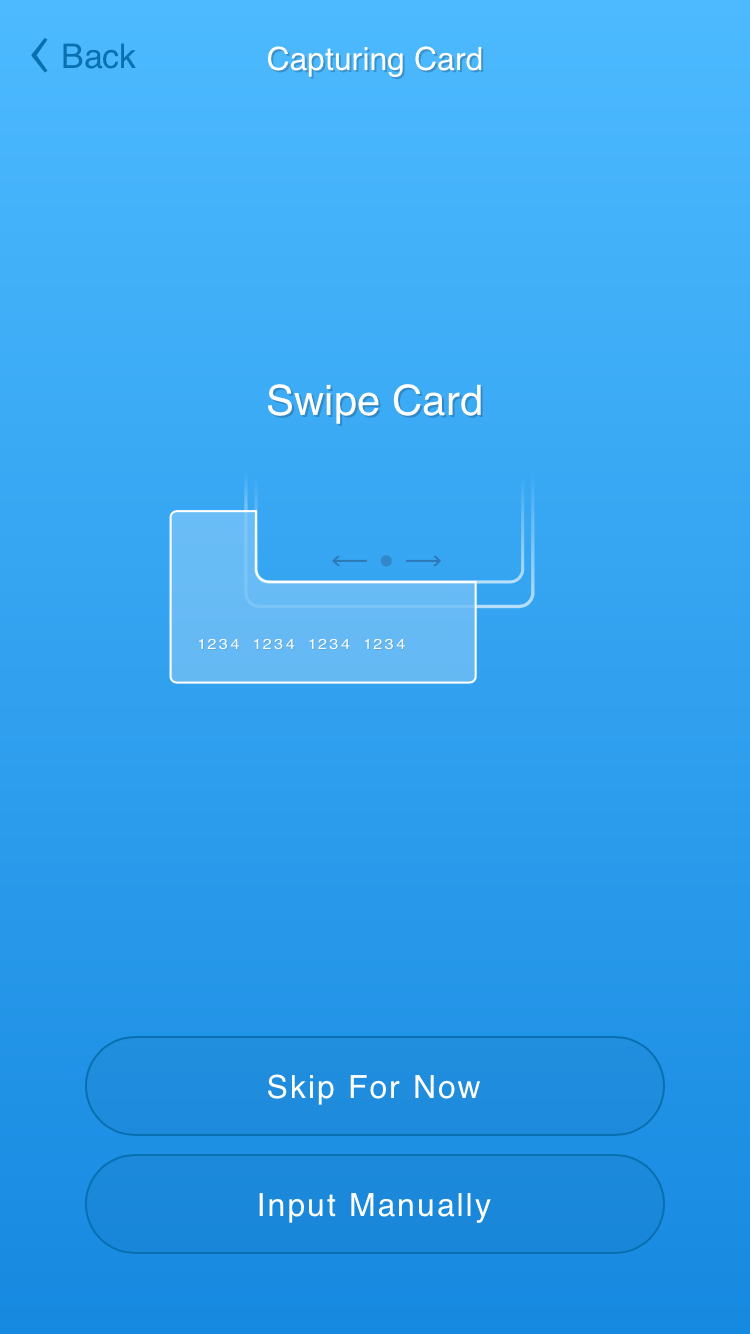
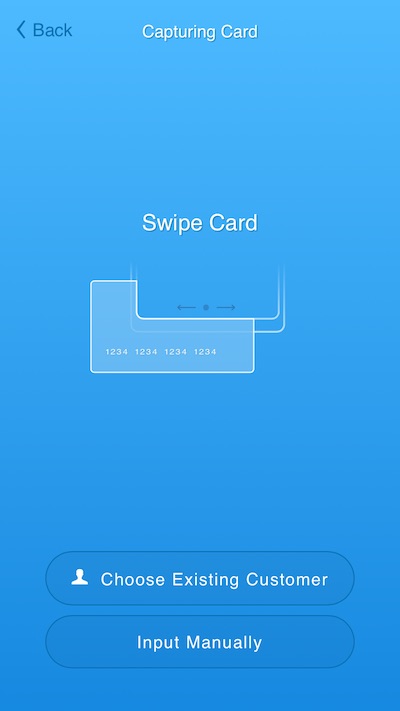
Swipe a credit card to apply to this customer, or type the number via 'Input Manually.' You can also skip this for now and create a customer without a credit card, then easily add one later.
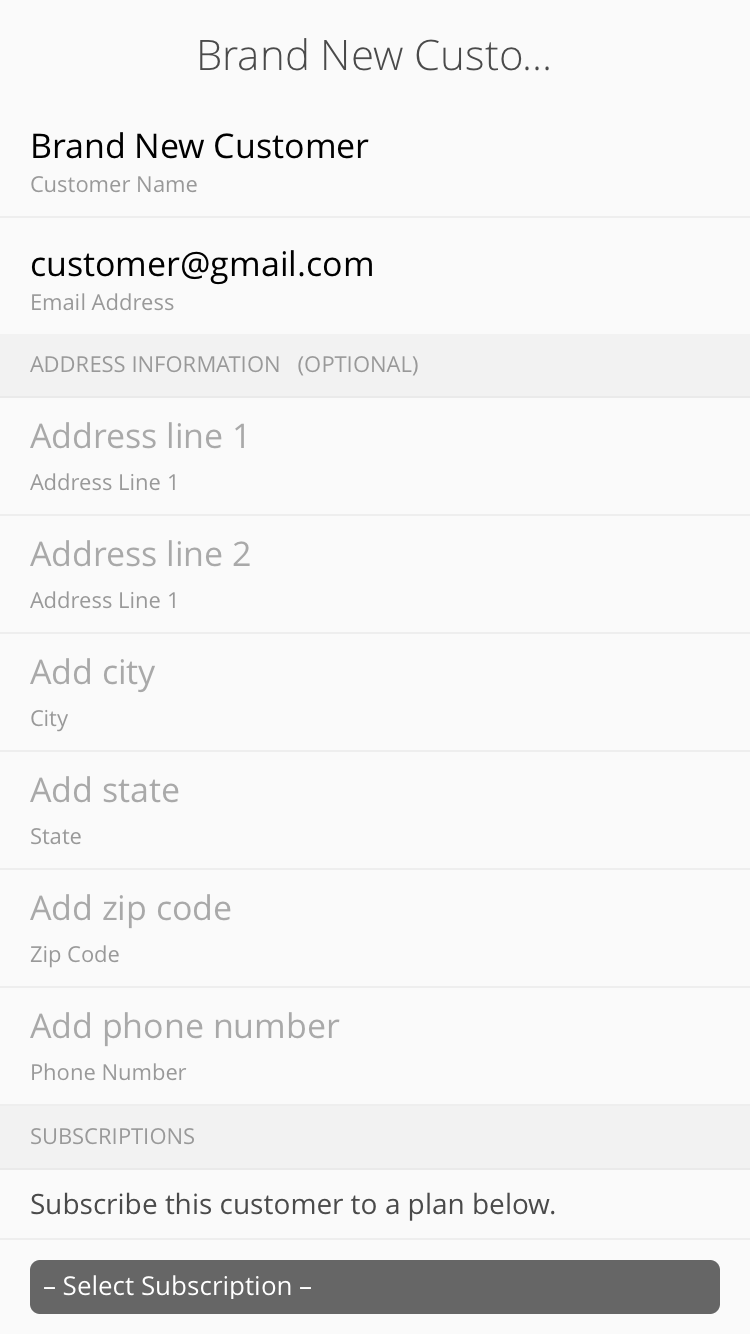
In the last step, add as much or as little contact information as you want. Here you can also apply subscriptions to this customer as you create it (if you attached a credit card).
Charge a customer
Navigate to the customer you want to charge from your Customers list. Scroll to the bottom of this customer detail page and tap 'Charge Customer.' This will create a charge using this customer's previously saved credit card information.

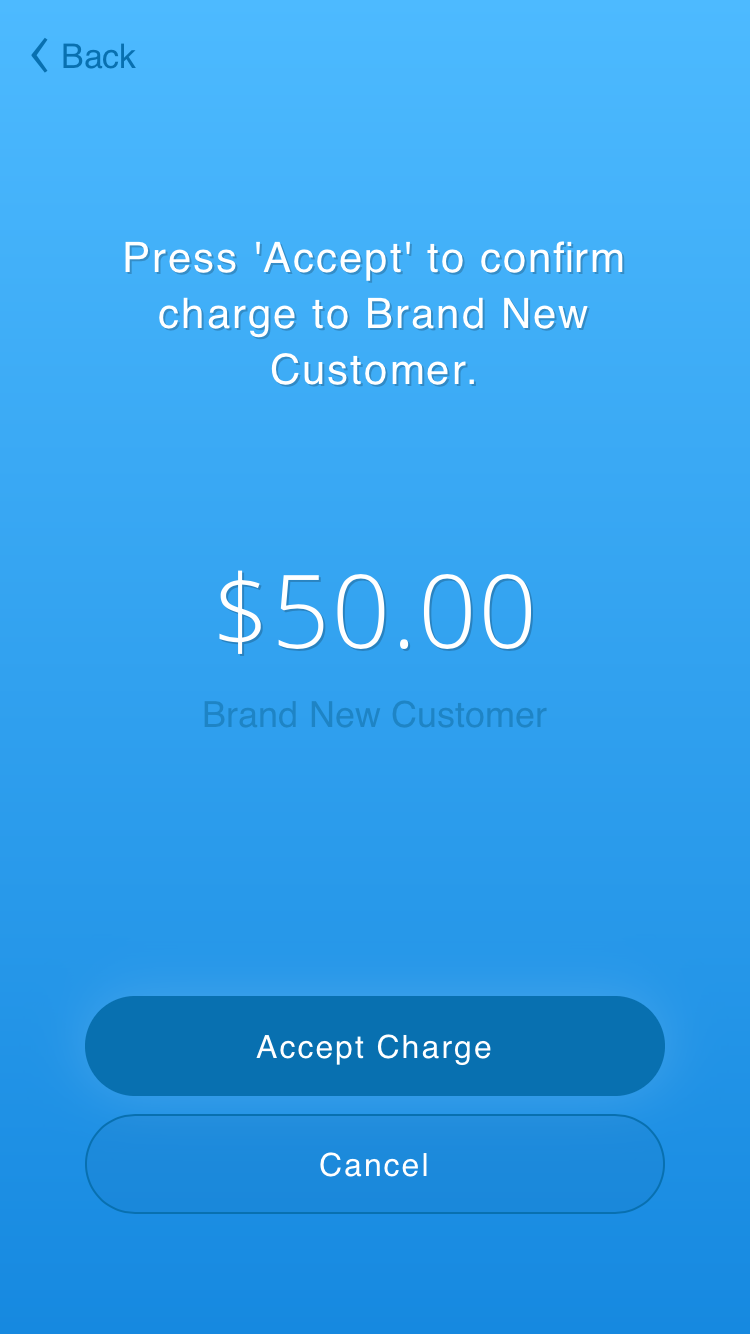
You will notice the same intuitive flow, but with a customer name onscreen along the way to let you know you're charging an existing customer.
Subscribe a customer
Note: You must have subscription plans added to your Stripe account. Do this in your Stripe Dashboard under 'Billing' → 'Products.'
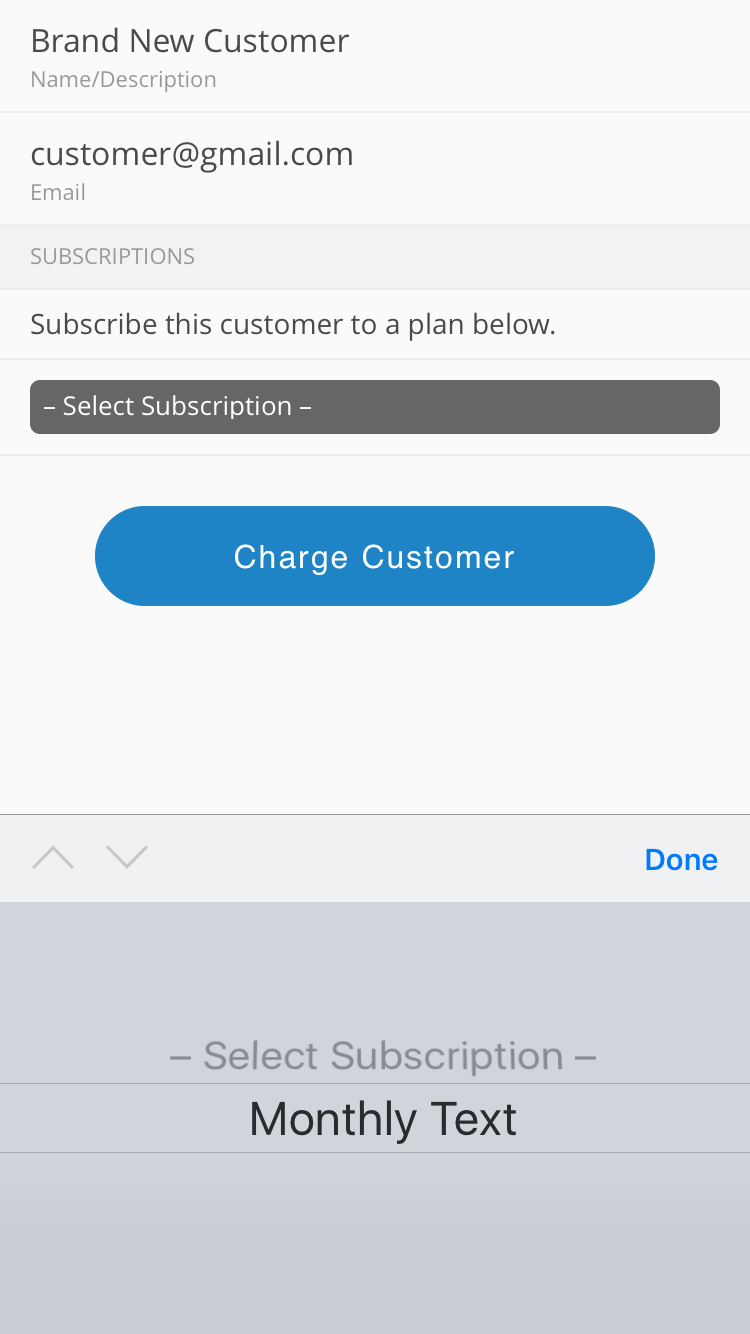
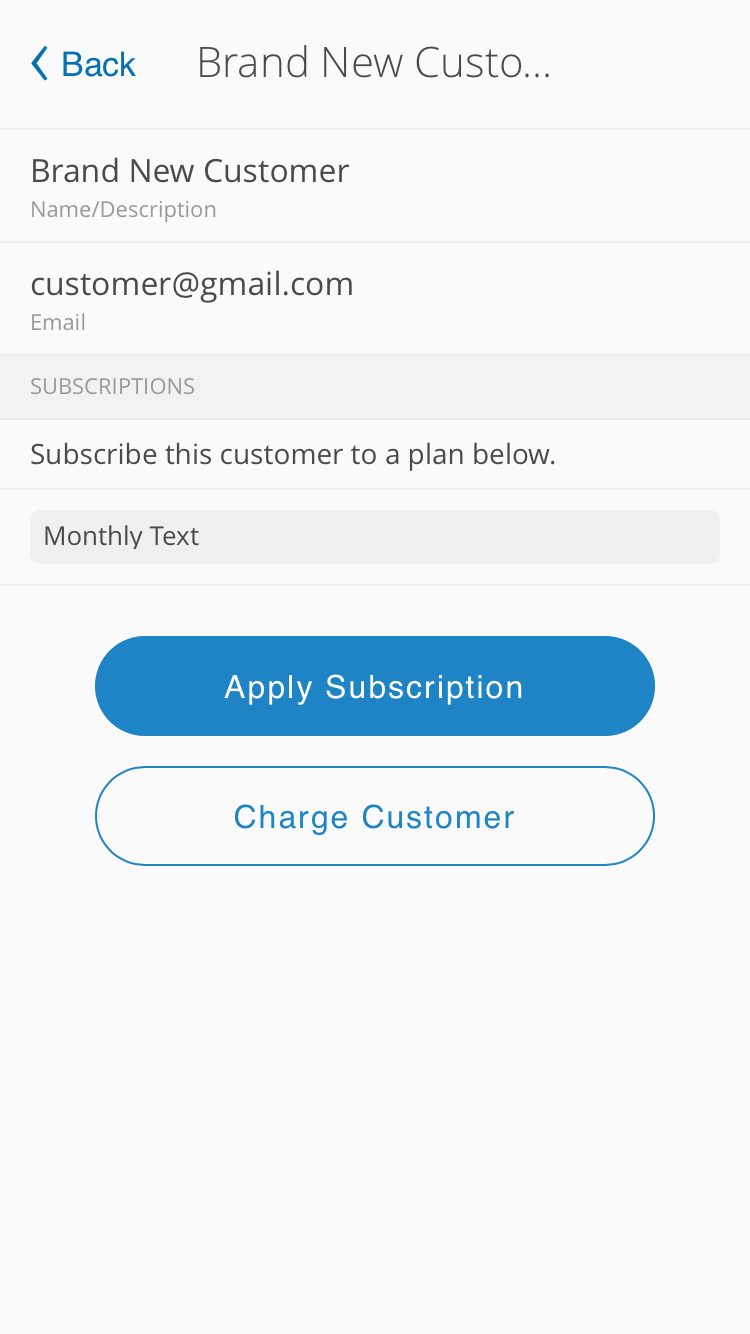
Navigate to the customer you want to charge from your Customers list. Scroll to the bottom of this customer detail page. If Plans exist in your account, you may select one from the list and then just tap 'Apply Subscription.'
After it is applied, the Subscriptions list for this customer will reload, displaying the new subscripiton you've just applied.
Instant Subscriptions
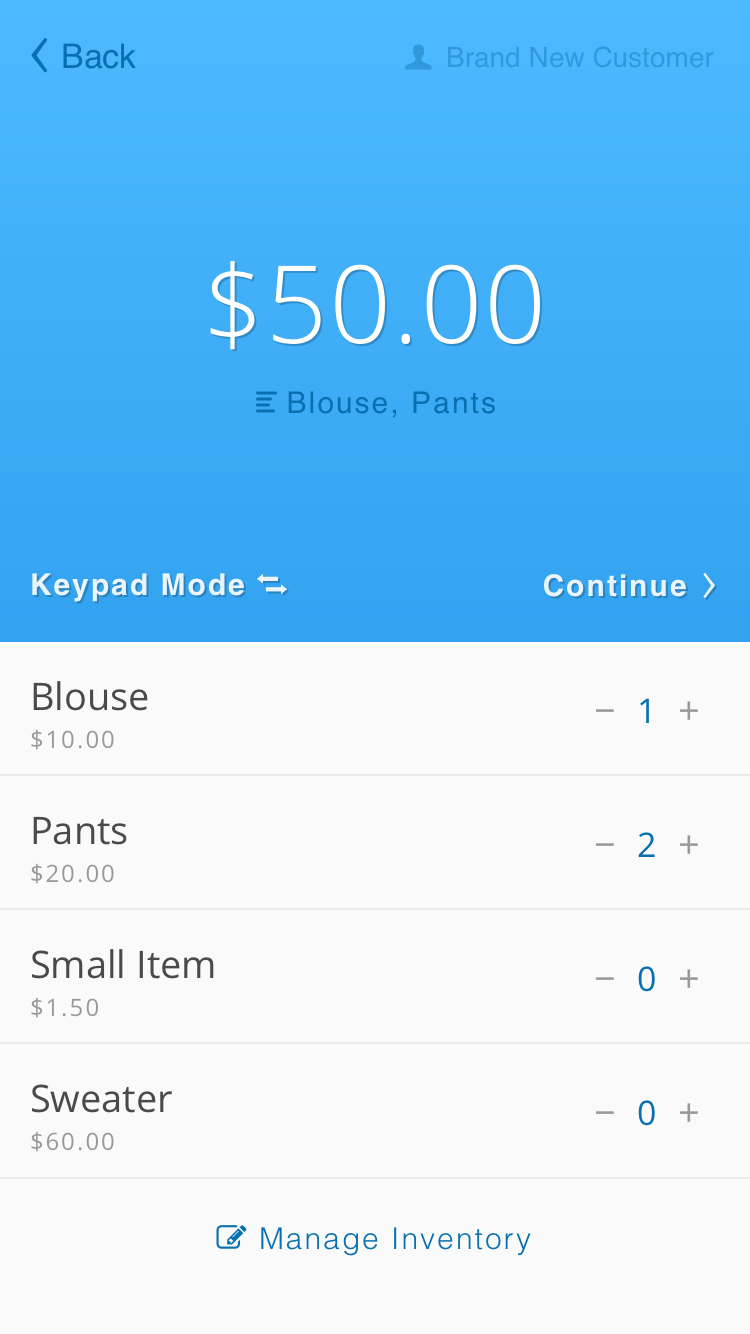
As of version 1.8.0 you can subscribe a customer right from the home screen. Just go to Inventory Mode, select your subscription, and Continue.
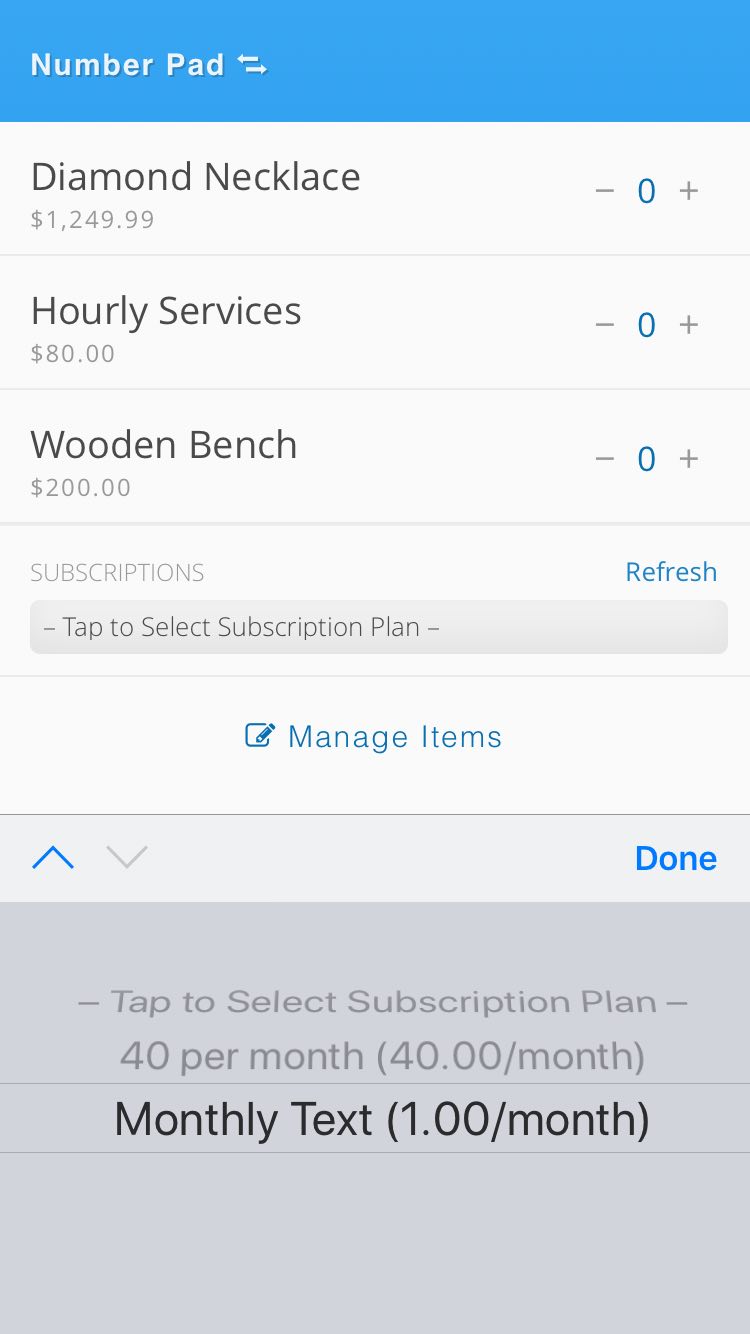
You'll be able to create a new customer to subscribe immediately on the next screen, or apply this subscription to an existing customer.
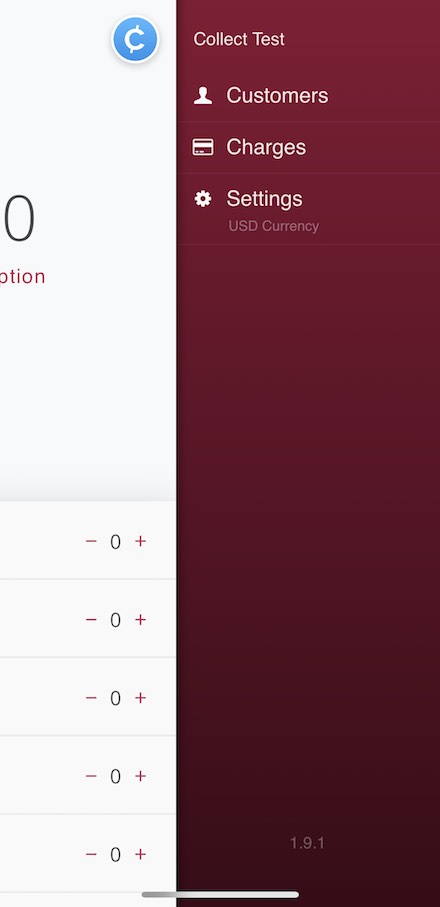
Settings
Get to this section by clicking the menu icon or your business' logo on the home (tranasction) screen.
Notes:
When creating customers, your active currency setting will apply to that customer.
If using a card reader you must charge in USD (U.S. Dollars).
Tipping
This section simply tells you whether tipping is enabled (it is enabled by default). You can tap the button on the right side to disable or re-enable tipping.
Tax
Here, you can set a tax percentage, which will be automatically calculated and added to all charges.
*As of version 1.8.4, we automatically add your tax to subscriptions.
Currency
Set a currency for your charges.
As of version 1.8.5 (early 2018) currency is completely open, meaning we support any currency accepted by Stripe for keyed-entry payments. Just tap the currency code on the right side and enter any new 3-digit currency code. The current setting will display in your main menu.
* Charges created using a card reader (swiping) are always USD-only.
Terminal Name
Setting a value here allows you to name each of your POS devices.
Say you have two tablets at the front counter and one in the back – Name each of those under this setting, and a terminal-name value will be added to every charge's metadata in Stripe.
Theme Color
What it means
Setting a Theme Color sets all button and highlight colors in Collect for Stripe to your selected color, creating a white label effect throughout.
Learn how to set your color below.
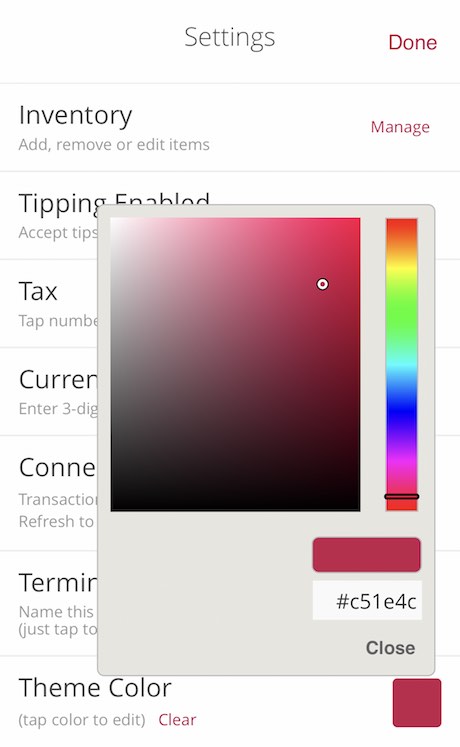
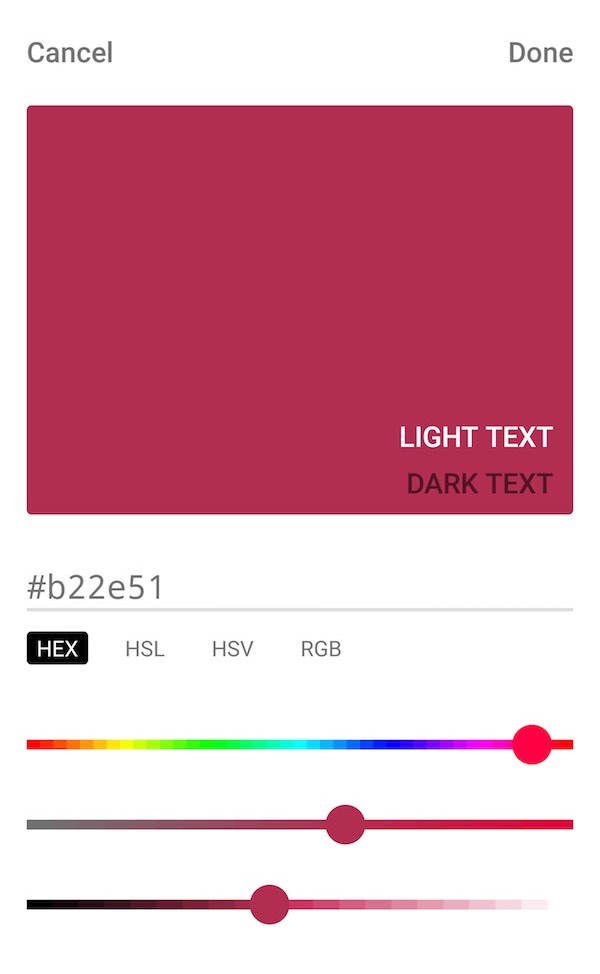
Setting Your Color
On either platform, navigate to Settings. To set a theme, tap the color block on the right side of the Theme Color section to open the color picker.
Use the 'clear' button to reset to Collect for Stripe's original branding and colors.
Results
Android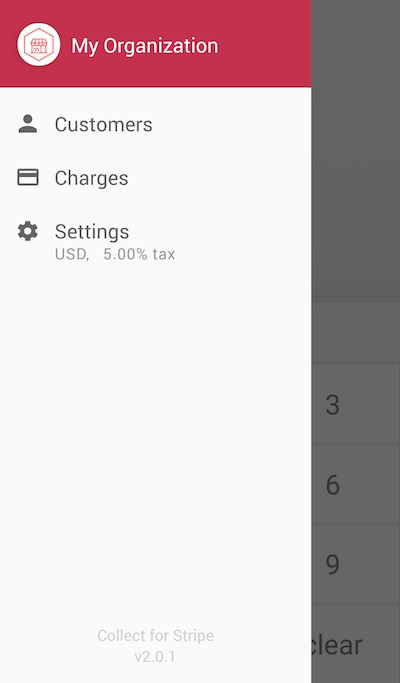
Adding Your Logo
Logos in the main menu (and on the Thank You screen) are imported via your Stripe settings. In your Stripe Dashboard, go to Business Settings → Branding and upload your icon or logo.
from Stripe![]()
Your logo will become the main menu button in Collect. Upon opening the menu, your business' Display Name (also set in Stripe) will display at the top.
This image will also be shown to customers on the 'Thank You' screen after a successful charge.
Inventory
Inventory is your list of items with preset values and descriptions. It's used to quickly and conveniently add items to a transaction.
Note: Inventory Mode in Collect for Stripe is not intended to track the number of items available for sale.
On the home screen, switching to Inventory Mode will bring up your list of items. This way you can easily create charges without calculating and typing in the total amount, or typing in a description each time.
Get to the Edit Inventory page either from Settings, or with the 'Manage Inventory' button at the bottom of your Inventory list.
Inventory Items are based on Stripe account and synced across devices. If you sign in with an account that has previously added inventory items, those will be automatically downloaded to the new device. Removing items applies everywhere as well.
Collect for Stripe Web Dashboard
Your Collect for Stripe account allows you to create account users (as noted in Connecting) and sign in to Collect directly.
We have added the following features to this dashboard as well. Be sure to check back here for updates as we continue to build on this.
Web Payment FormsBETA
Creating A Form
In the Forms section of the dashboard, you will find a very simple form builder to create your payment form.
Your form will then be embeddable in any https-secured website using the generated code – and it is totally mobile-friendly.
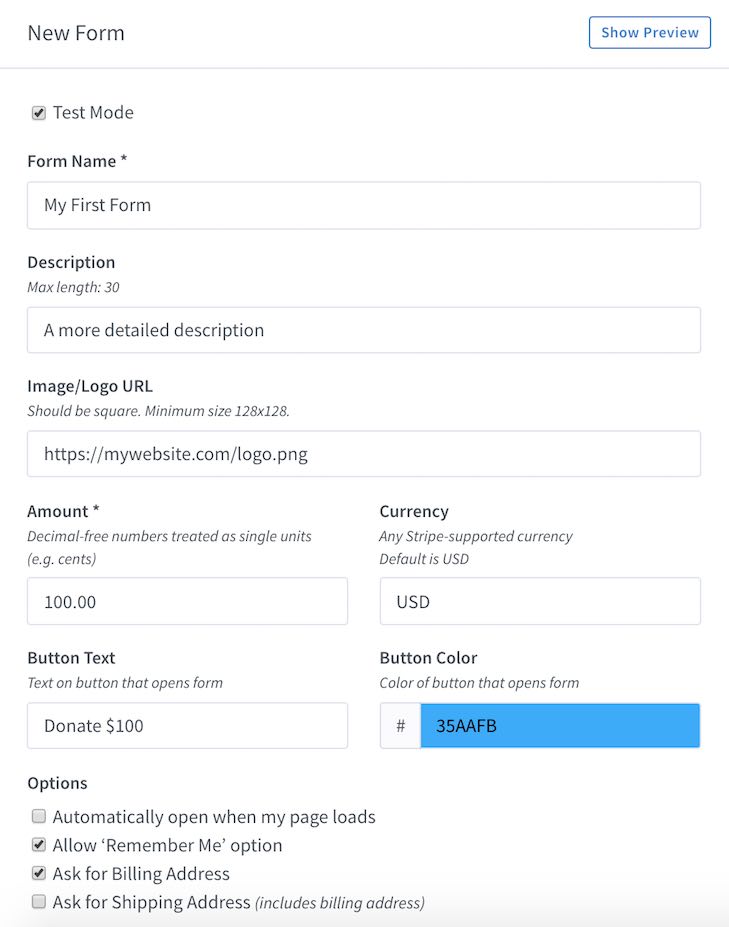
Under 'New Form,' the Form Name and Amount fields are required. Everything else is up to you, and you can use Show Preview to open the in-progress form in Test Mode.
Description is limited to 30 characters and provides a bit more detail to customers.
The Image field is a link to an online image (probably the logo on your website) to show at the top of the form. We recommend providing this.
Button Text and Button Color refer to the button we create that will appear on your website wherever the script tag is placed. This button opens the payment form.
Other options include:
- – Automatically opening the form whenever somebody opens the page on which it is hosted (the user does not have to click the generated button).
- – The ability for customers to allow your form if they wish to securely remember them for later. With this option enabled, customers can still say 'no' and not allow the form to remember them.
- – Billing Address fields and/or Shipping Address fields
Result
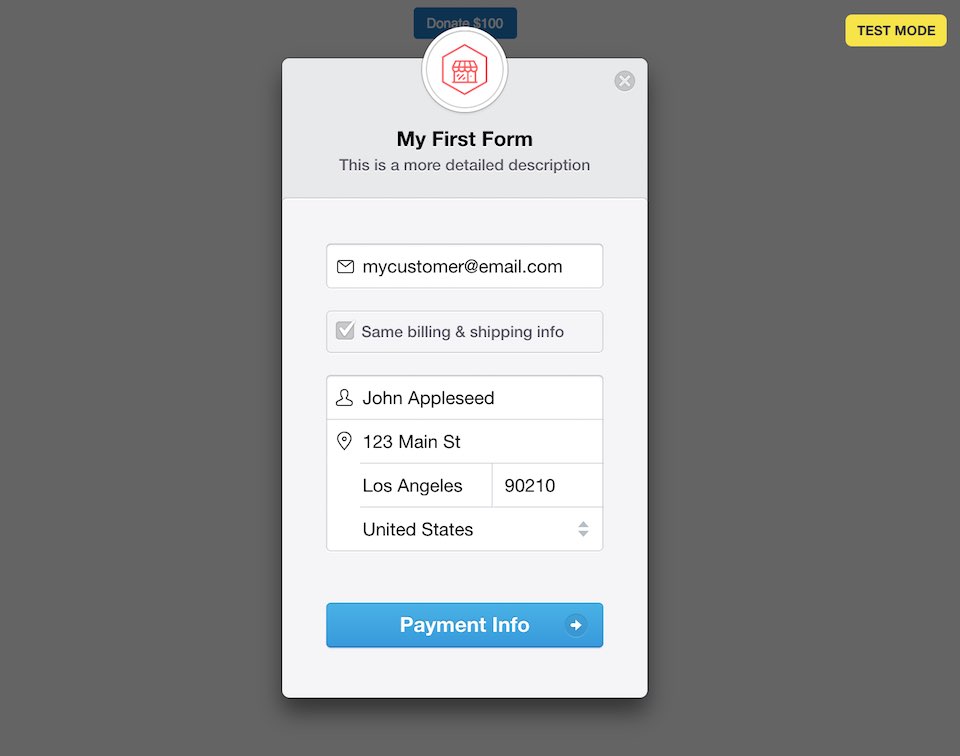
Forms are instantly built, generated and drawn based on the information provided. They are cross-tested to be compatible on any browser, on any device, on any website.
No development work. No maintenance.
Requires JavaScript (rarely an issue)
Using Your Forms
Your new forms will appear in a list on the right side of the Forms page in your dashboard.
From here you can easily toggle Test Mode to test your form and go live when you are ready.

As an extra step in your preparation, clicking the name of the form will open the form in a new tab. The form will reflect whether you are in Test Mode (if not, your form will be live). This is also a good way to see how your button will look, and to test 'Open on page load' or other options.
Adding to your website
The generated line of code that places the form on your website is available by clicking the code icon under 'Embed'.
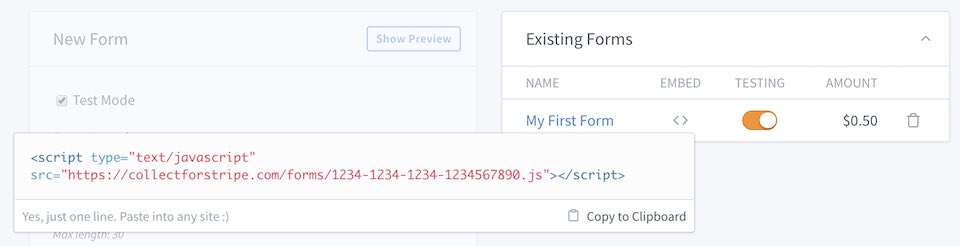
Copy quickly with 'Copy to Clipboard'
Just paste this code right into your payment page, specifically where you would like the button to appear.
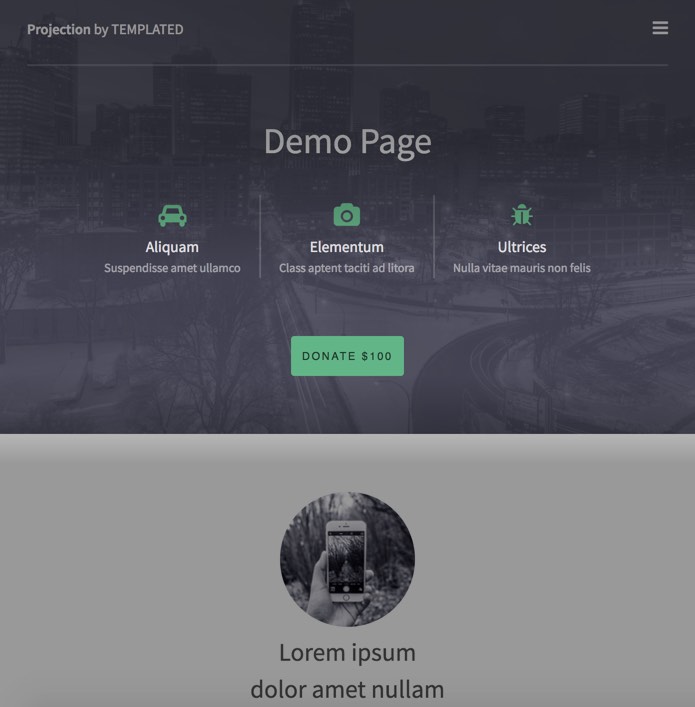
Example
Your pay button will appear wherever you place your script tag, so you can treat this copied code almost as the button itself.
This button will inherit properties like alignment, margins, font and font size from your own website style.
You can add to or override CSS styling if needed using the .cfsPayButton class, but this is not required.
We encourage you to reach out using the Help button at the bottom of our website with questions, suggestions and other comments as we build out the Web Dashboard.
more to come